Choosing the right head mount is crucial for capturing steady, immersive point-of-view (POV) footage without sacrificing safety or comfort. This guide moves beyond basic product lists to deliver practical advice on compatibility, performance testing, safety, and when to choose alternative mounts.
🤔 Head Mounts vs. The Competition: Choosing the Right Mount for the Job
Before diving into head mounts, it’s vital to understand when they excel and when another mounting option might be better. Your choice directly impacts the perspective and stability of your footage.
| Mount Type | Best For / Perspective | Key Advantages | Major Drawbacks |
|---|---|---|---|
| Head Strap Mount | True POV, dynamic action (skiing, trail running, immersive vlogs). | Captures exactly what you see, highly immersive, hands-free. | Can feel heavy, records every head movement (can be jarring). |
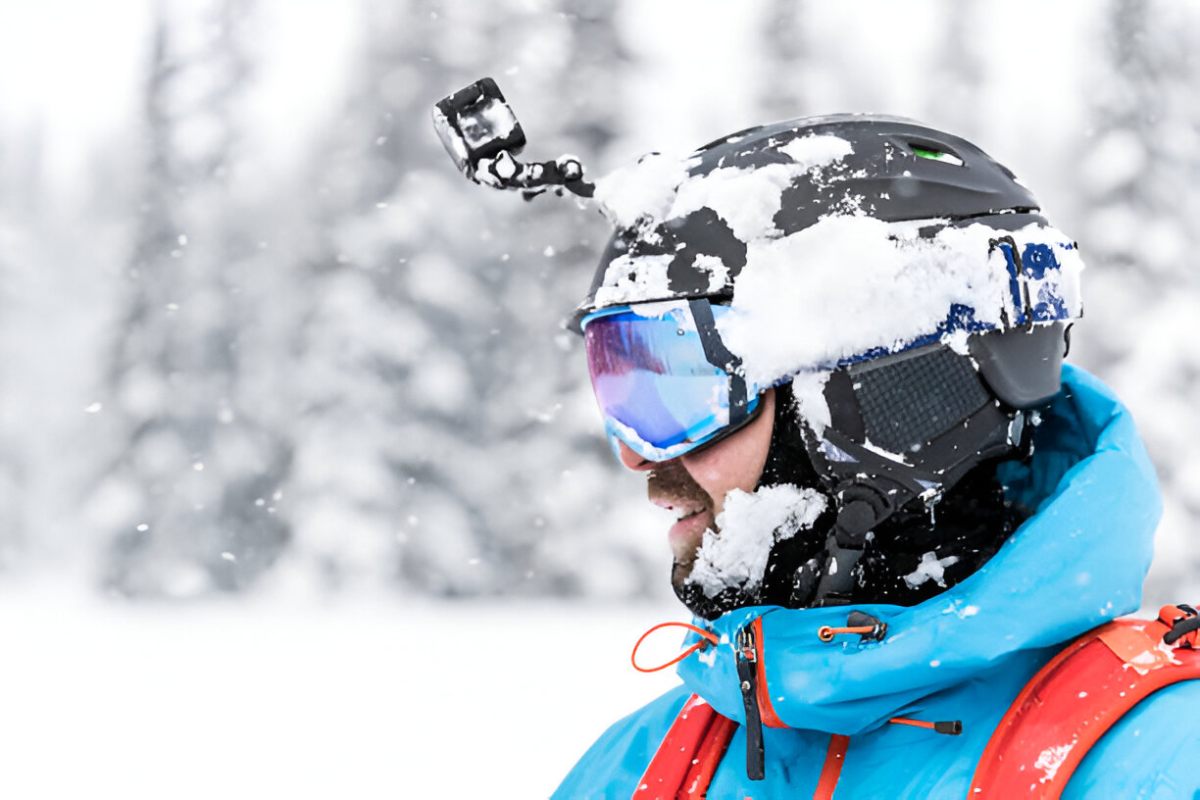
| Helmet Mount (attached to bike/ski helmet) | High-speed, high-impact sports (MTB, motocross, snowboarding). | Extremely secure, safer in crashes, less perceived weight. | Perspective is fixed to helmet, not your exact eye-line. |
| Chest Mount | Stable, medium-angle POV (hiking, cycling, kayaking). | Very stable footage, captures arm/hand action, comfortable. | Low angle misses high sightlines, can be restrictive for some. |
| Handlebar/Pole Mount | Vehicle/object POV, creative angles (bike handlebars, car hood, selfie stick). | Unique angles, secure to equipment, versatile. | Not a body mount; captures environment, not your perspective. |
The Verdict: Choose a head mount when your goal is a true, immersive first-person perspective. Choose a chest mount for superior stability in activities with lots of upper body movement, or a helmet mount for high-speed safety.
🔧 Key Buying Guide: Compatibility, Stability & Comfort
1. Ensuring Camera Compatibility
Most head mounts use a universal “fingers” or “cage” system. Check these two things:
-
Mount Type: Ensure the mount has the standard 1/4-inch screw or a GoPro-style “finger” adapter. Adapters are cheap and widely available.
-
Camera Weight/Size: While mounts like the SJCAM and TELESIN advertise compatibility with GoPro and similar cameras, double-check if your specific camera model (especially larger ones like the DJI Osmo Action) fits securely without wobbling.
2. Testing Stability & Comfort for Your Activity
Comfort and stability are personal and activity-dependent. Use this framework to assess:
-
For High-Impact Running/Trail Running:
-
Test: The mount must have a non-slip silicone pad (like the TELESIN model mentions) and wide, adjustable straps. Do a test jog and jump. The camera should not bounce or shift.
-
Tip: Tighten the strap more than you think. A lightweight mount is critical here to avoid neck strain.
-
-
For Cycling/Road Biking:
-
Test: If using a head strap, wind resistance can be an issue. A helmet mount is often the better, safer choice for cycling, as noted in the URL content. It’s more aerodynamic and secure.
-
Tip: For head straps, ensure the camera’s weight doesn’t cause it to tilt your head back.
-
-
General Comfort Test:
-
Wear the mounted camera for at least 15-20 minutes before your activity. A common drawback is added weight, which can cause fatigue and discomfort if you’re not used to it.
-
3. Non-Negotiable Safety Tips
-
Secure the Safety Tether: Always use the secondary lanyard or safety tether to connect your camera to your clothing or helmet strap. This is your last line of defense if the mount fails.
-
Mind Your Surroundings: A camera on your head increases your height/profile. Be extra cautious of low doorways, tree branches, and other overhead hazards.
-
Helmet Integrity: If using a helmet mount with adhesives, follow the instructions precisely. Poor application can compromise your helmet’s shell in a crash. Consider using a vent or strap-on helmet mount instead of permanent adhesive.
-
Know When Not to Use It: Avoid head mounts in situations where a snag (e.g., on a branch while mountain biking) could cause a neck injury. A more breakaway mount (like a chest mount) may be safer.
🚀 Pro Usage Tips for Better Footage
-
Angle is Everything: Before you start, record a short test clip. Angle the camera slightly higher than your natural sightline. This ensures your footage captures more of the horizon and action ahead, not just the ground.
-
Minimize “Bobble-Head” Effect: Practice keeping your head and gaze steady, especially when running. Smooth, deliberate head turns make for much more watchable footage.
-
Combine Mounts: Don’t rely on just one. The most engaging videos often cut between different angles—use a head mount for true POV, a chest mount for stable action shots, and a handlebar mount for a unique bike’s-eye view.
✅ Final Checklist Before You Buy
-
Confirmed the mount fits my specific camera model and has the right adapter.
-
Prioritized a model with non-slip padding and adjustable straps for stability.
-
Understood that for high-speed cycling, a helmet mount is the safer, more standard choice.
-
Purchased a safety tether/lanyard if one is not included with the mount.
-
I have a clear use case where a true POV perspective is more valuable than the ultra-stable footage a chest mount provides.
By focusing on how and where you’ll use the mount—not just the brand—you’ll choose an accessory that truly enhances your adventures.